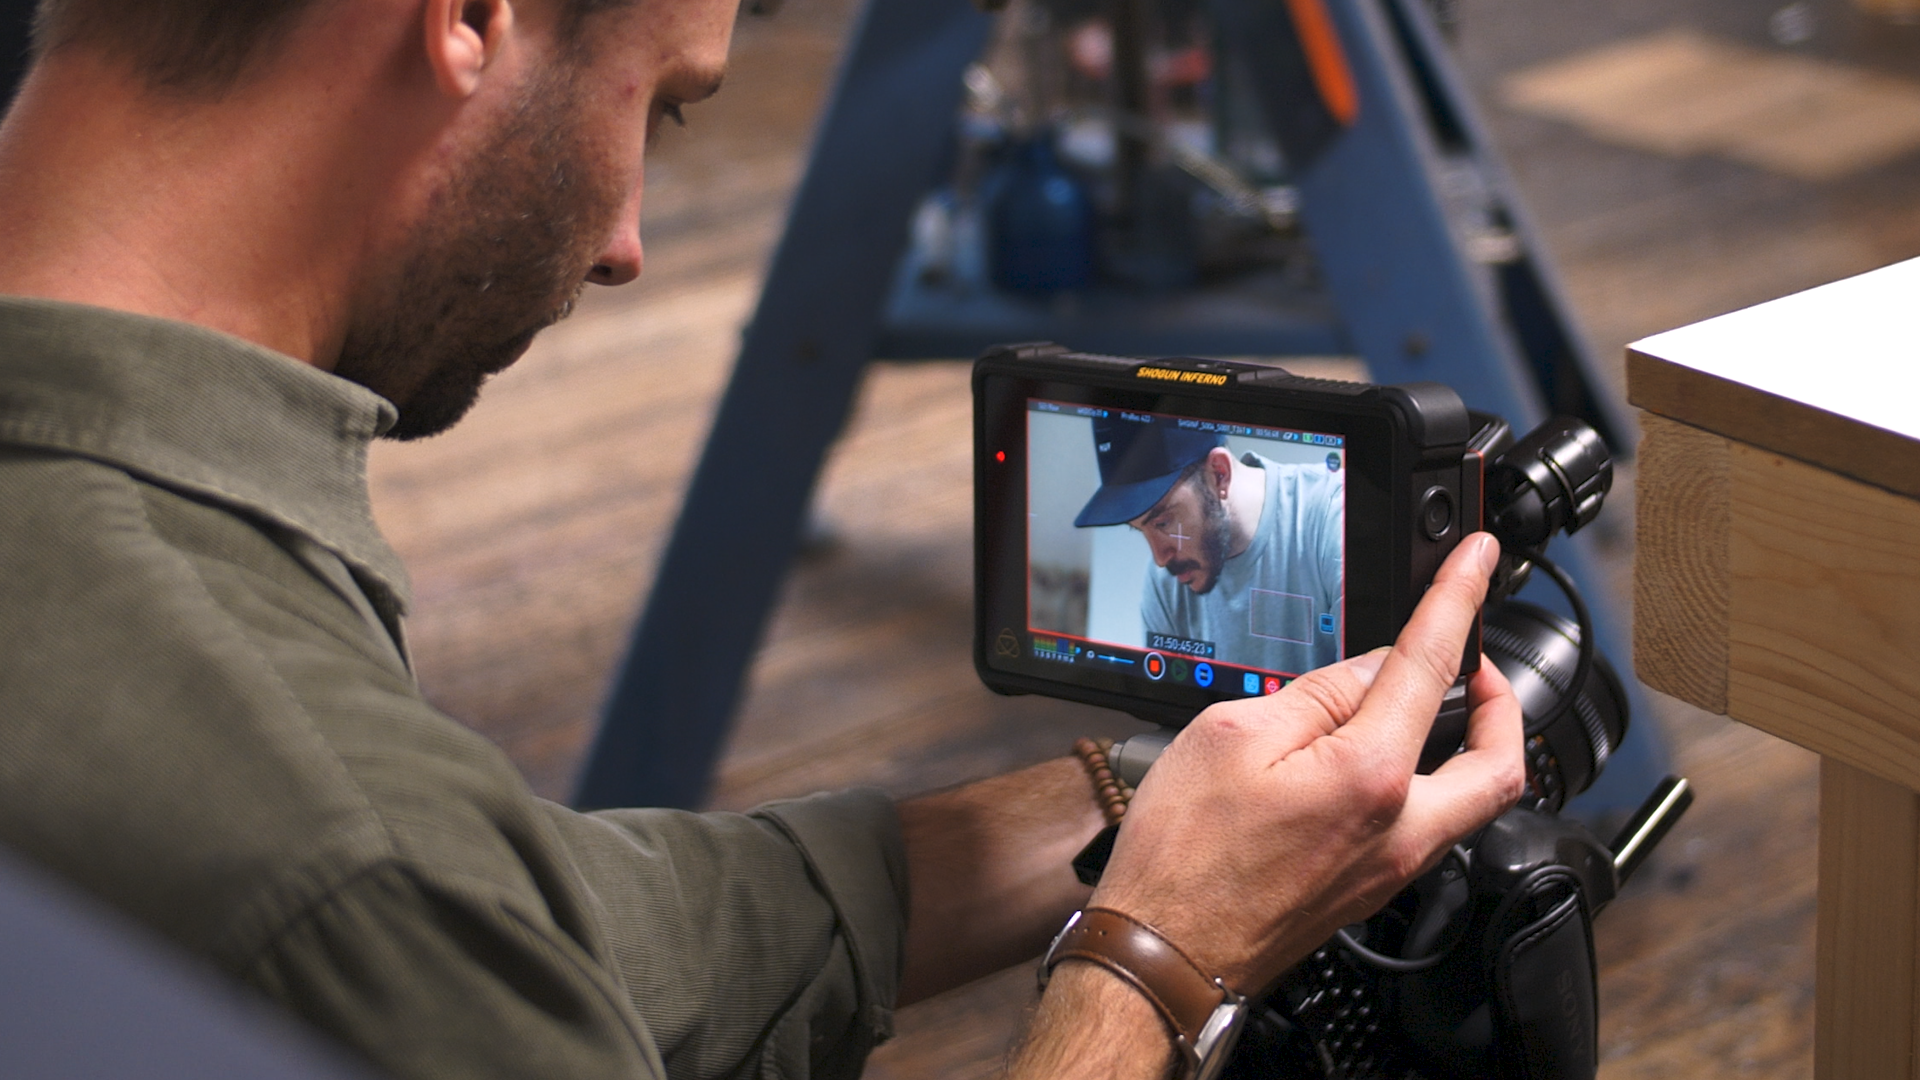
The editing room is where any film or video comes together and becomes something greater than the sum of its parts. Editing your first video can be daunting, especially if you haven’t used editing software before. However, understanding the editing process as a whole and what you are trying to achieve at each step is a great way to learn. Here is our guide to the steps involved in the video editing process.
A note on choosing the right software
Before we get into the guide, there is a disclaimer. You can’t do much without first installing the proper software. There are quite a few editing software choices out there, including free programs which can do all the basics, but the best programs do cost money, although they give you the full control and functionality required to create exceptional videos. It is also worth noting that you will need to have a computer with a good processor and plenty of memory to run editing software.
Some examples of free-to-use editing software are:
- DaVinci Resolve
- Lightworks
- HitFilm
Some examples of paid editing software:
- Adobe Premier Pro
- Final Cut Pro (for Macs)
- Power Director 365
Once you have your software installed, and maybe some tutorials under your belt, you can start thinking about the steps of the video editing process.
1. Log your footage
Logging is the process of watching your raw footage and labelling it to make it easier to find particular footage during the editing process. During this stage, you may also be able to leave out any footage you know you will not need, freeing up space on your hard drive and saving you time when looking for clips later on.
Until you are a seasoned editor, it’s a good idea to be generous with what you import, including clips you are not sure about, as it is helpful to have more than you need. You might want to consider not deleting the unwanted clips either, just organise them in their own folder somewhere else.
2. Make your first assembly
The first assembly, sometimes known as the assembly cut, is where you turn your raw footage into something that resembles the story in the script. At this stage of the video editing process, you can build up your video scene by scene by stringing together your usable footage in a chronological sequence, using the script as a guide.
At this stage, you can also start to think about which shots you want to use for each scene (provided you shot multiple takes/angles), but try not to over-edit, as that will come later. The primary purpose of the first assembly is to see what is working, what isn’t and if there are any gaps that will require you to do reshoots or pickups.
3. Assemble a rough cut
The rough cut takes your first assembly one step further and features more shot selection and trimming, but it will still be a lot longer than the finished film. If you had to shoot any additional footage after the assembly cut, that will be included too. Despite the name, the rough cut is usually much tidier than the assembly cut.
At this stage, you might include some unfinished visual effects or a temporary music score to give a better idea of the look and feel of the final film. You may also still end up making structural changes such as adding or dropping scenes or moving things around. Once everyone is happy there are no more structural changes to the edit, it’s time to fine-tune.
4. Fine cut
With the structure sorted, you can start working on your fine cut, which focuses on the details. There are quite a few areas that will need your attention, such as the music, sound effects, graphics and visual tweaks. You will also need to look at your shots to see where they can be cut for a smoother narrative, as well as any visual transitions that need adding in.
5. Add in your music and sound effects
You may have had a temporary soundtrack in your rough cut, but now is the time to start using your real audio. You will need to work in sound effects that may have been recorded separately or by foley, ambient sound and music so that your video hits the emotional beats you want it to. Remember – just like your visuals, your audio tracks will also need transitions.
6. Work on the colour correction and colour grading
Colour correction and colour grading are important processes that make your film look and feel professional. Colour correction tidies up any problems with the visuals, as raw footage is often oversaturated.
The goal is to get the colours aligned with the way the human eye sees them in the real world by adjusting the saturation, brightness, contrast, and white balance. Colour grading allows you to edit the colours to stylise your film and give it the desired aesthetic or create a certain mood.
7. Final cut
As the name suggests, the final cut is your finished film, incorporating the work you did on your fine cut and the sound design, colour grading and any graphics or text that need adding. You will make any final tweaks until everyone is happy and then you have your video.
That concludes our guide to the video editing process. In practice, each stage is quite a bit longer as editing is a creative process and you will try different combinations or cuts to create a video that meets your vision.
If you want to ensure that your video looks professional and take the stress out of the process, you should consider hiring a professional video editor who can work with you to bring your vision to life.