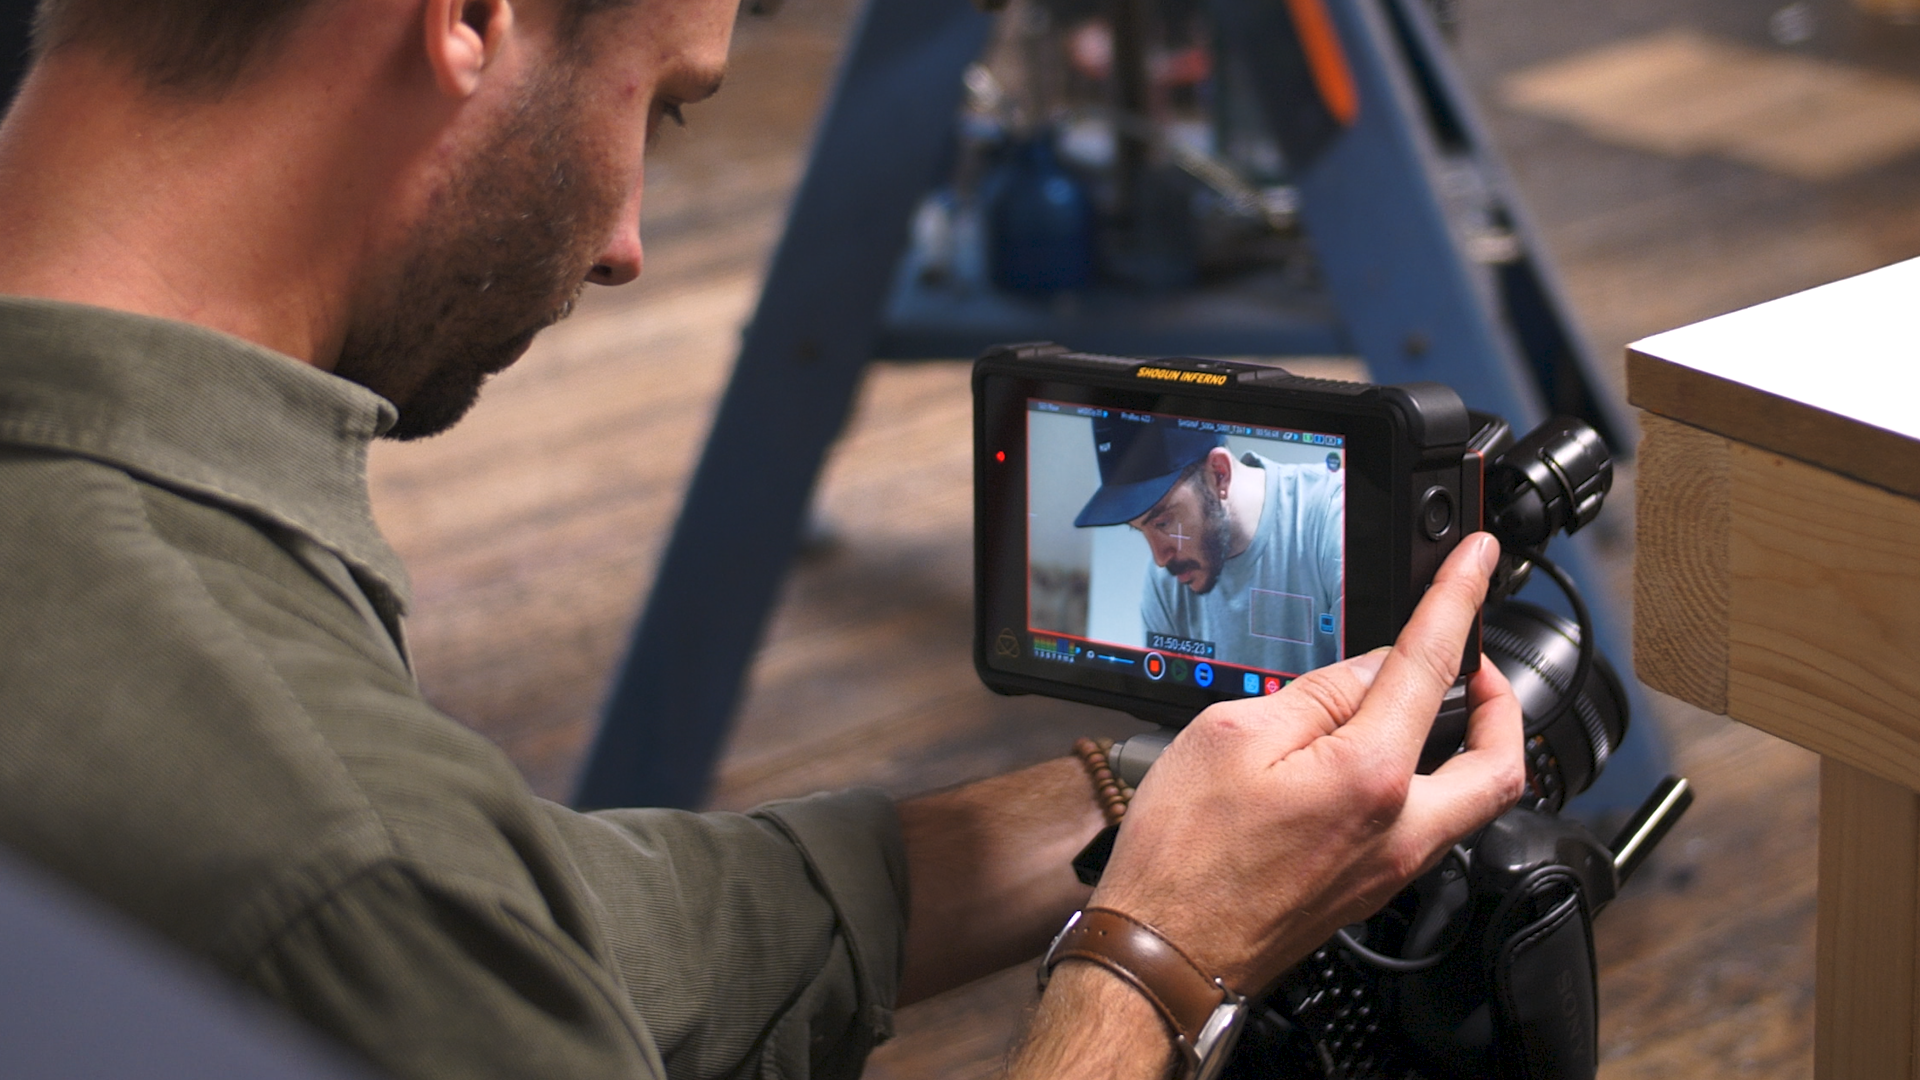
Preproduction is an essential part of the video creation process and should be given the time it deserves. Putting in the time in preproduction reduces the chance that problems will occur during the shoot, resulting in delays that cost you time and money.
One of the most important aspects of preproduction is the storyboard. A storyboard is the best way to get others to understand your vision for a video project.
Here are some tips on how to make a storyboard that will start your production on the right track.
What is a storyboard and why do you need one?
A storyboard shows the individual shots you have planned for the video, including camera angles, movements, lighting, transitions, and dialogue. Similar to the outline for a story or an article, a storyboard gives an idea of how the finished video will look and feel before shooting anything.
A storyboard also helps you to identify and work out any problems or narrative gaps before you start shooting and spending money.
Preparing the structure
The first thing you need to do before you start to make your storyboard is to establish the structure and timeline of your video.
Start by writing your script. Even if you envision your video to be mostly visual and without dialogue, the script is a great starting point for your storyboard because the key information you need to get across is laid out, and you can then decide the best way to visually represent each scene.
In your script, identify what your key scenes are going to be and where they fit into the narrative. These might be the shots you envisioned when you first thought of the video, such as customers using your services or a detailed close up of a product’s features.
When writing your script, and consequently converting it into a storyboard, remember the following beats: your video should first grab your audience’s attention, then establish the problem they are facing (that your product or services can solve), provide the solution (your product or service and how it works), and then finish with a call to action so that your audience knows what the next steps are to connect with you or start using your services.
Choose your medium
If you can draw to any reasonable standard, then you can make your storyboards by hand, and there are plenty of templates online that you can print out, with dedicated spaces for your sketches, your dialogue and any scene direction, lighting requirements, or transitions.
Remember, you don’t have to be a brilliant artist to make a great storyboard – it’s just a medium that allows you to better communicate your thoughts on how the video will look.
If you absolutely can’t draw, or you’d just prefer to modernise the process, there are storyboarding tools available to help with the process, such as Storyboard That, Amazon Storyteller, or design software such as Illustrator or InDesign that are great for demonstrating your vision.
Just make sure that you choose the storyboard that has the right aspect ratio for shooting the video – that way you know that everything you want to include will fit in the frame.
Creating the storyboard
Once you have your script to work from and your desired template/program for creating the storyboard, it’s time to fill in the panels for each shot.
Include as much detail as you can
These can be as detailed or simplistic as you feel is necessary. The more detail you can include, the easier it will be for others to understand your vision, but even stick figures can go a long way to demonstrating what you want to see on screen. Be sure to also note the camera angle you want (such as an extreme close up or wide shot) in case the sketch doesn’t represent it clearly enough.
Include transitions and camera movements
Your video is unlikely to consist only of static shots, so make sure to include any camera movements or transitions you want to include in the notes under each panel, as well as any transitions between shots.
Add dialogue, lighting directions and musical cues
The more details you can include in your storyboard the better, so if you have a clear idea of how you want the scene to look and sound, include annotations for lighting and any musical cues for each frame, as well as any dialogue or voiceover.
Include graphics and your CTA
Finally, make sure that your storyboard shows any important graphic overlays such as your call to action or your brand’s logo. These are the key components of your video for turning your viewers into customers, so don’t forget them!
A storyboard is an incredibly useful tool to communicate the vision for your video to the people you will be working with to make it. It also helps you understand how your video will flow and allows you to iron out any issues before they cost anything to rectify.
If you need any help creating your brand video, from preproduction to the final edit, we can help, so please get in touch with us – we’d love to hear from you!